Replacing the toilet valve and supply line can seem daunting, especially for people who are not familiar with plumbing works like me. Fortunately, it becomes much easier and faster now with the SharkBite Click Seal 1/2 in. x 7/8 in. x 12 in. Angle Stop Toilet Connector, the process is simplified and can be completed with minimal tools. This guide will walk you through the steps to replace your toilet valve and supply line in a few minutes.
Materials Needed:
- SharkBite Click Seal 1/2 in. x 7/8 in. x 12 in. Angle Stop Toilet Connector
- Adjustable wrench or pliers
- Bucket or towels (to catch any water)
- Tube cutter
- Depth Gauge and Deburring Tool
Step-by-Step Instructions:
1. Turn Off the Water Supply
Locate the main water supply valve, usually found in the basement. Turn the valve clockwise to shut off the water supply. Flush the toilet to drain as much water from the tank as possible. Use a towel or sponge to soak up any remaining water in the tank.
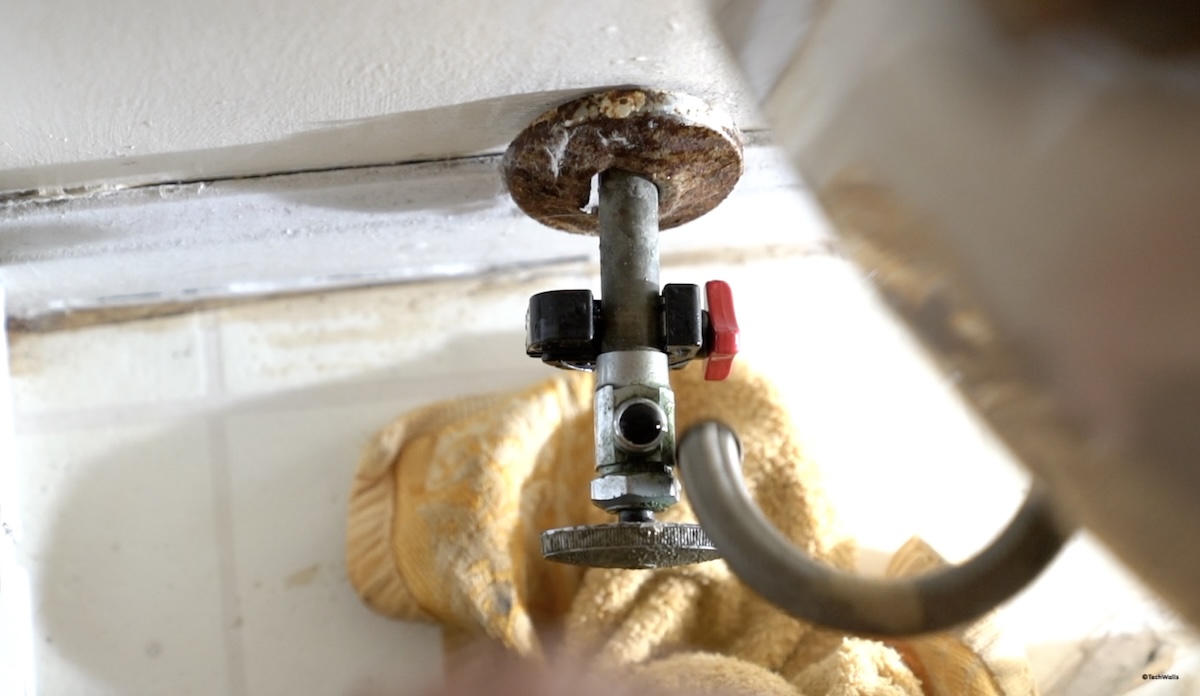
2. Disconnect the Old Supply Line
Place a bucket or towels under the toilet to catch any water that may spill. Using an adjustable wrench or pliers, loosen the nut connecting the old supply line to the toilet tank. Next, disconnect the other end of the supply line from the water supply valve. Remove the old supply line and set it aside.
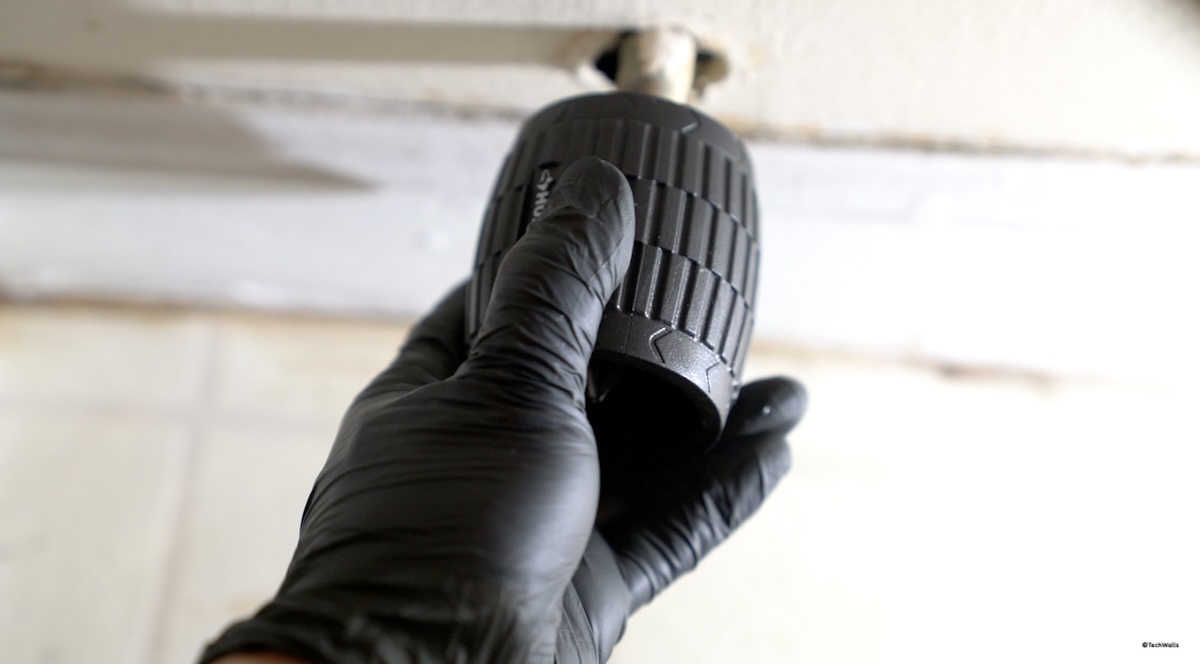
3. Remove the Old Shut-Off Valve
Use a tube cutter to cut the water supply pipe as close as possible to the shut-off valve. Some water may spill out, so be prepared with a towel or bucket.
4. Prepare the Pipe
Ensure the end of the water supply pipe is clean and free of any debris. Use a deburring tool to make the outside of the pipe smooth and avoid damages to the O-ring inside the SharkBite connector.
5. Install the SharkBite Angle Stop Toilet Connector
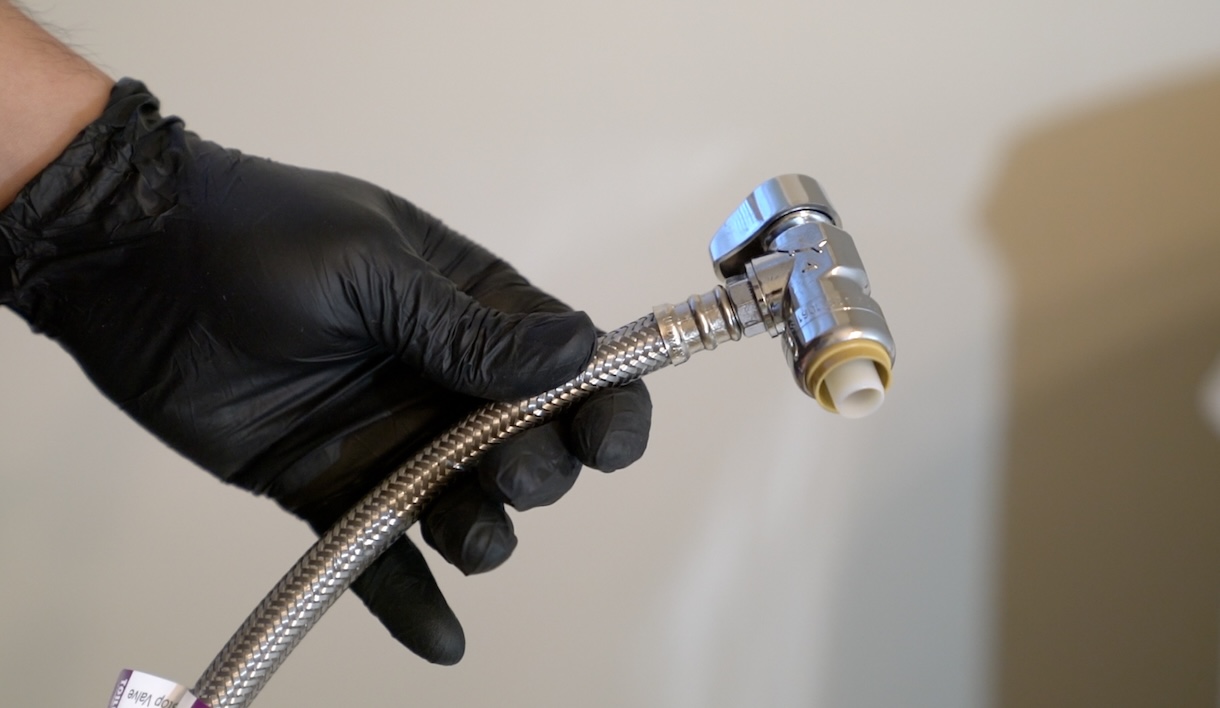
Take the SharkBite Click Seal connector and align it with the water supply pipe. Push the connector onto the pipe firmly until it clicks into place. You can use a depth gauge tool to know how far you should push the connector in. The SharkBite fitting uses a push-to-connect mechanism, eliminating the need for tools and ensuring a secure fit.
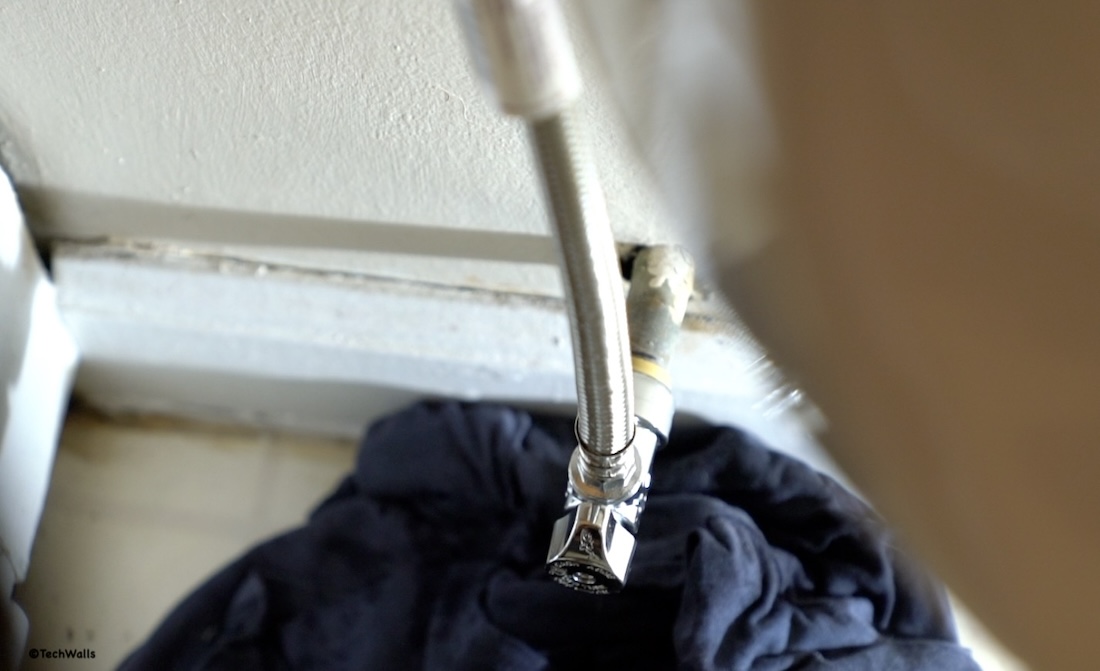
Attach the other end of the SharkBite Click Seal supply line to the inlet valve on the bottom of the toilet tank. Hand-tighten the nut only and ensure a snug fit. Do not overtighten, as this can damage the threads.
6. Turn On the Water Supply
Slowly turn the main water supply valve counterclockwise to restore water flow. Check for any leaks around the connections. If any leaks are detected, gently tighten the connections with an adjustable wrench.
7. Test the Toilet
Once the water supply is restored and no leaks are present, flush the toilet several times to ensure everything is working correctly. Check the connections again for any signs of leaks.
Conclusion
Replacing the toilet valve and supply line with the SharkBite Toilet Connector is a straightforward task that can be completed in a short time. The SharkBite system simplifies the process with its push-to-connect mechanism, making it an ideal choice for DIY enthusiasts and professionals alike. By following these steps, you can ensure a secure and leak-free connection, keeping your toilet functioning properly.