The Home Accents Holiday 3-ft LED Jumbo Bulb is among the most popular Christmas decorations this year. Everyone loves the stunning, oversized piece, however, it is battery-powered and we hate swapping out batteries every week, especially when leaving it outdoors. Fortunately, converting it to a hardwired bulb is not that difficult and can even result in brighter, smarter bulbs.
Open the Bulb
Start at the top of the bulb. The top portion is threaded, so you can turn it counter-clockwise and lift it off. Inside, you’ll see the tiny LEDs attached to thin wires.
Snip the wire near the LEDs and pry the assembly upward. The LED module is lightly secured—it might take a flat screwdriver or gentle wiggle. Underneath, you’ll find a small plastic bracket used to position the original light. Once the bracket is removed, the entire inside becomes accessible.
Access the Electronics Compartment
The switch and battery tray sit in the bottom housing. Using a small screwdriver, open the lower section where the power button is. Inside, you can see the control board. Remove the board and pull out the button assembly. There is a rubber weatherproof plug covering a small round opening near the base. This is the perfect exit for your wires and you don’t need to drill any extra hole.
Install a Standard Lamp Socket
It’s time to position your new bulb holder. A medium-base (E26) socket works well if you plan to upgrade to a smart bulb.
Place the lamp socket on the plastic bracket and use several zip ties to secure it. I prefer flipping the bracket upside-down so the bulb sits lower, creating a wider, more even light spread.
Run the Power Cable
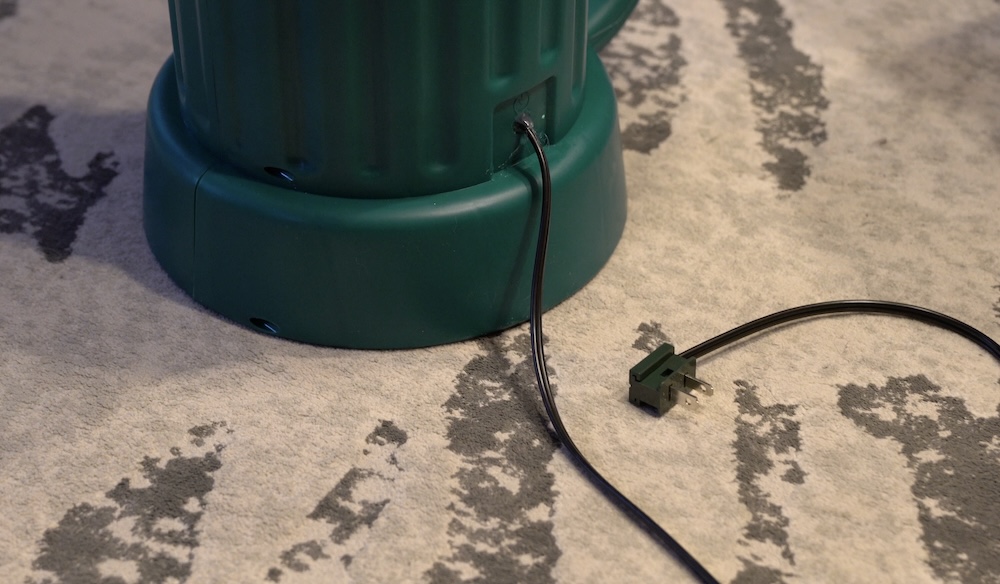
For the wires, SPT-2 lamp wire is ideal as they have thicker insulation, easier to run across a yard, and compatible with vampire plugs. Feed the SPT-2 wire through the existing rubber-plug hole. Strip the wires and attach them to the lamp socket terminals. I prefer adding short pigtails of solid wires to the light socket and using wire connectors like Wagos for more secure installation. Make sure to connect the ribbed wire of the SPT-2 wire to neutral (silver screw) and smooth wire to hot (brass screw).
At the other end of the cord, attach your vampire plug. These plugs pierce the insulation automatically, but pay attention to placement. In most cases, the ribbed wire is on the right, aligning with neutral.
Weatherproof
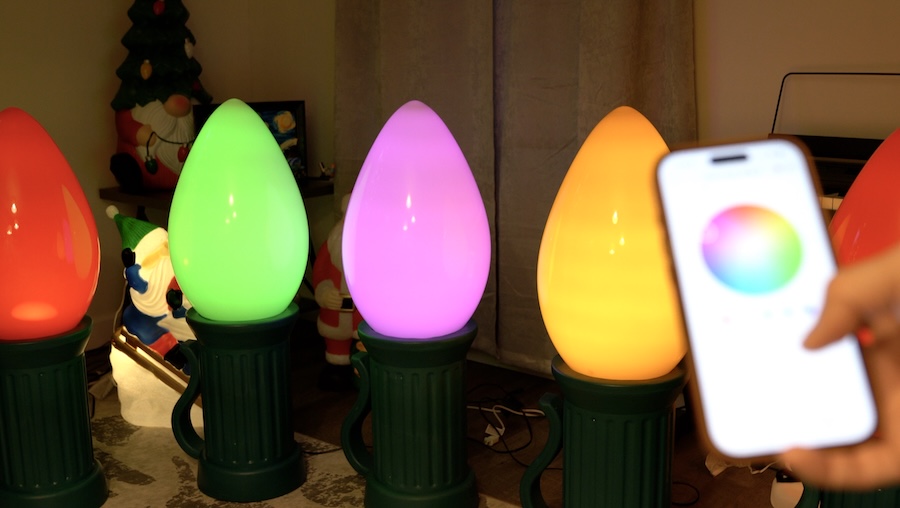
Once the socket is secured and the cord is routed, it’s time to seal the opening. Fill the pass-through around the wire with silicone caulk or hot glue. Let the seal cure, insert your smart bulb, twist the top cover back on, and plug it in to test if everything works properly. Now, enjoy the lights for the whole holiday season without the chore of swapping batteries.