Amped Wireless is a brand famous for manufacturing high-end networking products and one of its most popular series is Wi-fi range extender. Last year, we reviewed the REC10 and now we are trying the new version, REC15A.
The REC15A is being sold on Amazon for $99, we will have an insightful review of the product soon. This article will show you how to set up the REC15A.
Step 1: Connect to the REC15A
After attach the antenna to the extender, you will need to find a good location to place the unit. It should be somewhere between your router and dead zone. Make sure it is close enough to get a strong signal from your router.
The range extender will be turned on automatically after you plug it in a power outlet. Now, open your computer and connect to the new Wi-fi network, it could be named Amped_REC15A_2.4 or Amped_REC15A_5.0.
Step 2: Access Dashboard
After connecting, open your web browser (Chrome, Safari and Google Chrome are recommended) and enter this address:
http://setup.ampedwireless.com
If you can’t connect to this page, try the alternative:
http://192.168.1.240
If it still doesn’t work, you can try connect your computer directly to the extender via an Ethernet cable and try again.
Then you will see the following screen:
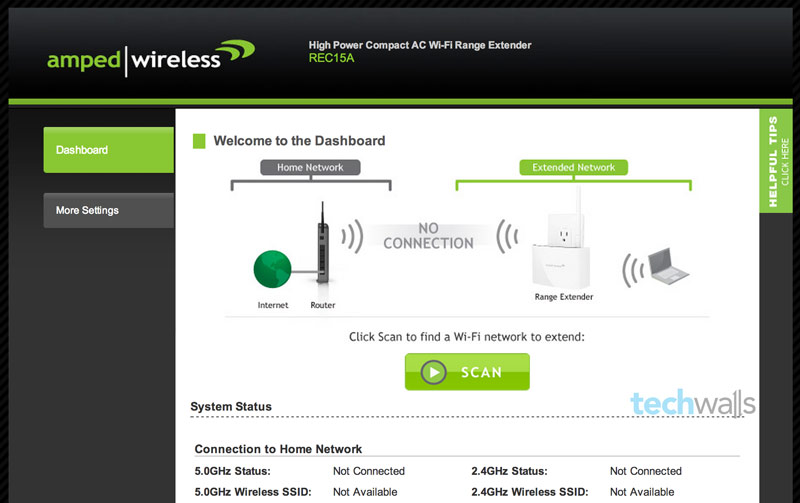
Step 3: Set up extended network
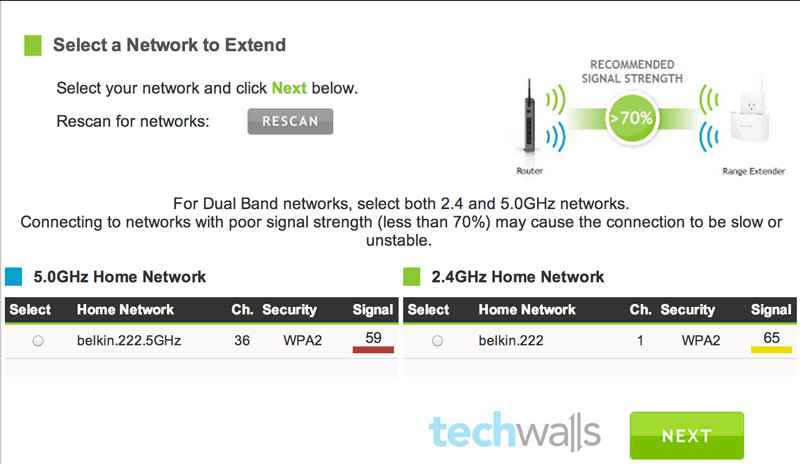
Click on Scan to find your existing Wi-fi network. Then you will see a list of available Wi-fi networks, you can select both 2.4 and 5.0GHz networks.
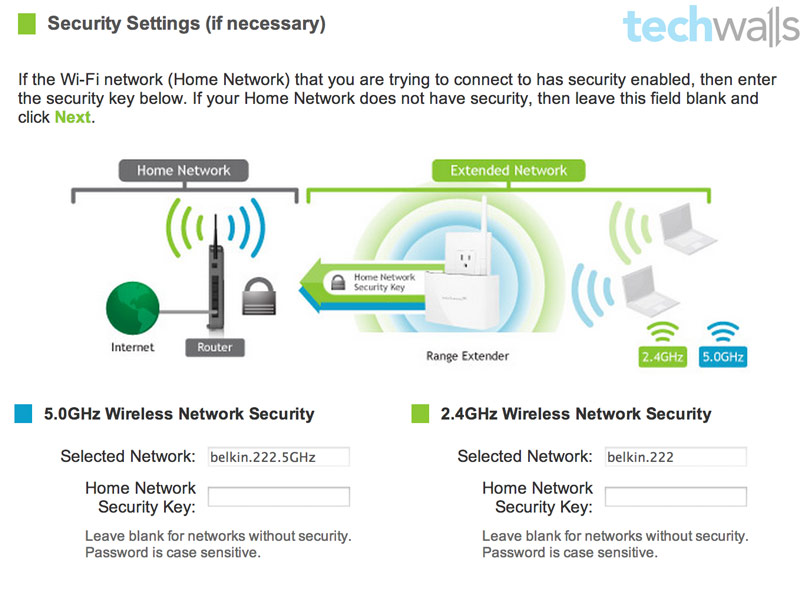
The next step is to fill in security key to connect to your existing Wi-fi networks.
After that, you will see a screen to set up your new extended networks. You can change their SSIDs and security keys.
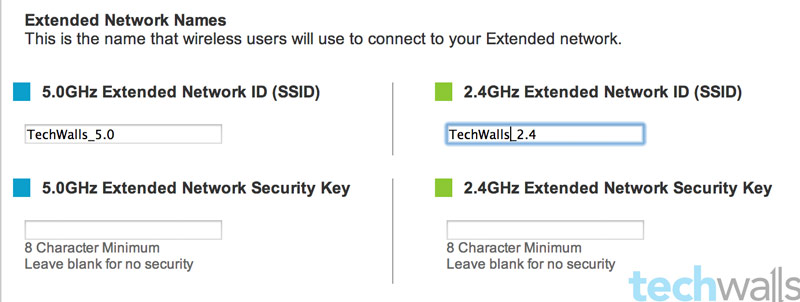
After clicking on Next button, you will need to wait about 3 minutes for your device to apply the new settings and connect to your networks.
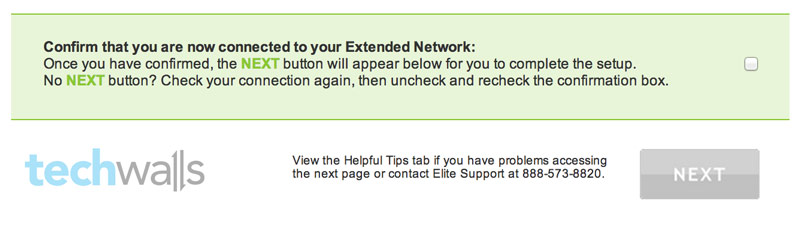
It is all set. Now you are disconnected from your network, the last step is connecting to your new network. Then you check the confirmation box on the bottom and click on Next to complete the setup.
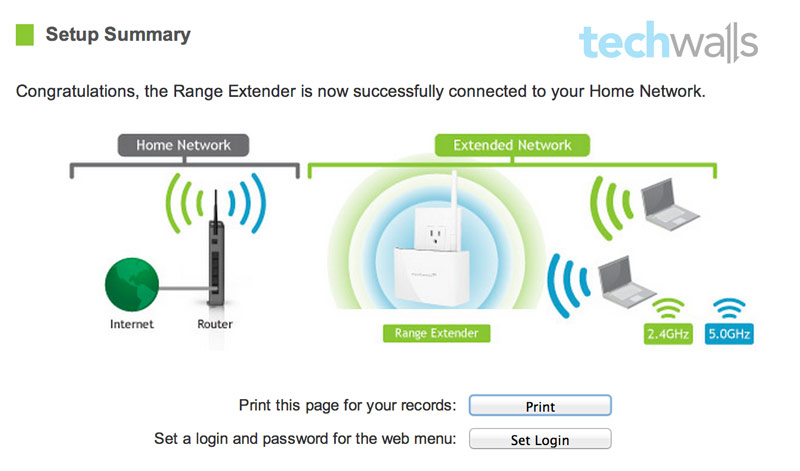
You have successfully set up your extended network with the Amped Wireless REC15A.
Quite simple, right? Now, enjoy stronger Wi-fi network throughout your house and let me know if you have any issue setting up the device.


Bill says
best instructions ever