After Google bought Motorola Company just went silent not phones were released by them. Then almost a year when Nexus 4 got old and we all were expecting Google to launch next Nexus device at their Event surprised came up. Just after the event they launched Moto X with a punch line “Designed and assembled in US”. This is the company’s first phone after Google bought it.
Right now this device is limited to US and is being sold by Sprint, Verizon, AT&T and other network providers on contract for $200. If you are really interested in buying it then you will surely find some online retailers selling those very few unlocked versions but keep in mind that unlocked version cost about $650.
You all might be guessing what so special about this device? So, it runs on almost stock Android with little bit of add on in it. It has Google Now which can be accessed without even touching the device and even in locked state you need to say “Ok Google Now”. Most important feature is you can customize your device according to your needs for that you need to get a token from above said network providers and Go to Moto X site and choose the back, front style and color you want. You can even choose from various set of accessories. Phone runs on Dual Core Snapdragon S4 Pro Processor with two more additional cores out of one is for sensor fusion and other for voice activation which makes this amazing Touch less Google Now actions to happen.
Now let’s go to main topic so you have Moto X but want to root it. Below we have a simple and easy guide that you will be able to root your device with single click.
Note: All the above processes can permanently brick your device so be aware of that. Also we don’t have any responsibility if your device gets harmed in any way. It is totally up to you that whether you want to root and flash a custom ROM on your device or not.
Instructions to root Moto X
You need following stuff before you begin the rooting.
Requirements:
- Download the app for rooting device from XDA Developer site.
- SuperSU from Chainfire which you can download from Google Play Store.
- Moto X of course
- USB Cable
- Computer System
Procedure
STEP 1:
Transfer the “MotoRoot Apk” File which you downloaded earlier to your device by any suitable method. Make sure that the rooting app which you have already downloaded is for your phone.
STEP 2:

Once you install that start the app and tap on “Setup (Will Reboot)” button.
STEP 3:
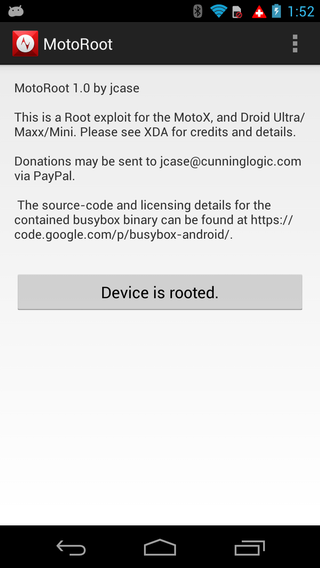
Then your device will Reboot and once it restarts download SuperSU app from Play Store link given above.
STEP 4:
Your Moto X is rooted. Enjoy!
Things to keep in Mind
- Double check that the Rooting app that you downloaded is for the same device you are going to root otherwise it will damage your device.
- Uninstalling MotoRoot App will unroot your rooted Moto X device so better don’t do that.
- If you update your device Over the Air then it will again unroot your device so take care of that too.
- This rooting process is permanent so you need not to do it again and again.
As you have rooted your Moto X so which apps will you install first or what have you rooted your device for? Tell us in comments below.