Discovering a leaky shut-off valve under your bathroom sink can be frustrating. Previously, I could simply fix the issue by tightening the nut behind the handle or using the BrassCraft Multi-Turn Valve Stem Repair Kit. That worked for other valves in my home, but not this time. The water kept leaking at the nut, and I realized the valve was simply too old and deteriorated to function properly. Replacing it was the only solution. Here’s how I did it.
Tools and Materials Needed
- SharkBite Max Quarter-Turn Angle Stop Valve
- Pipe cutting tool
- Deburring tool
- Wrench
- Marker
- Cleaning cloth
Steps to Replace a Leaky Shut-Off Valve
1. Turn Off the Water Supply
Before starting, locate your main water supply valve and turn it off. Open the faucet to relieve any pressure in the pipes and drain residual water.
2. Assess the Old Valve
Confirm the source of the leak. If the nut behind the handle isn’t stopping the water, inspect the valve for signs of corrosion or wear. A worn-out valve should be replaced rather than repaired.
3. Cut the Pipe
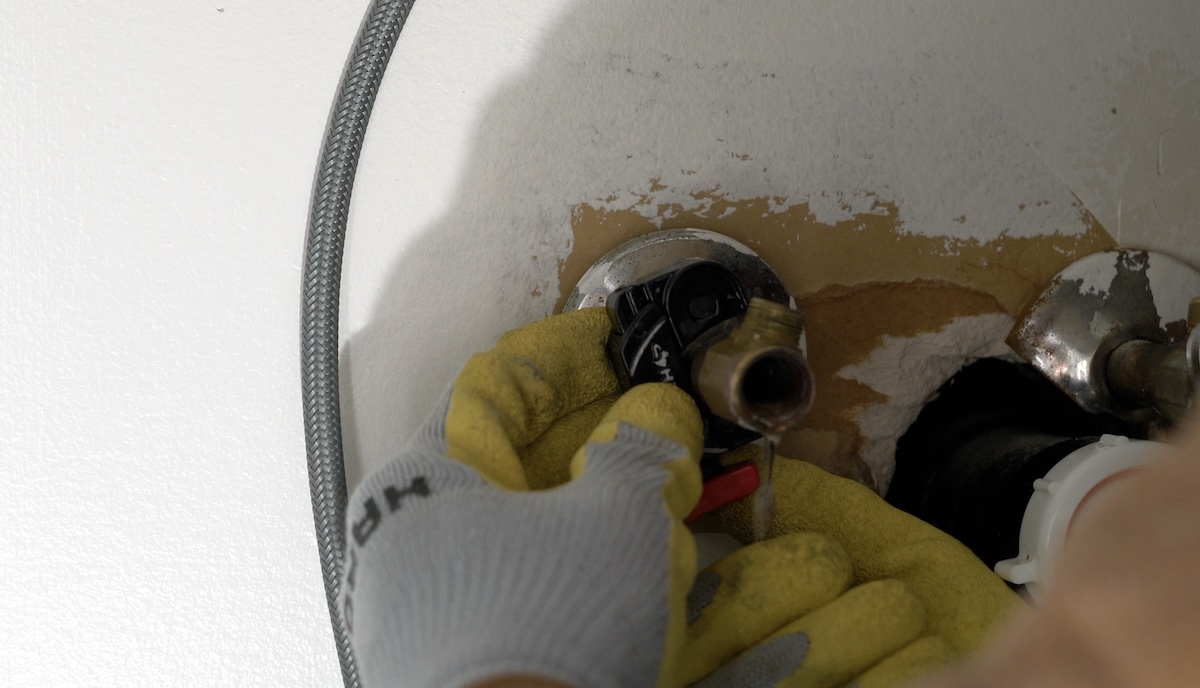
Use a pipe-cutting tool to remove the old valve. Make a clean, straight cut to ensure the new SharkBite valve fits securely. Be cautious and cut only the pipe, avoiding damage to surrounding materials.
4. Debur and Clean
Use a deburring tool to smooth the cut edges of the pipe. This prevents sharp edges from damaging the SharkBite fitting’s O-ring. Wipe the pipe clean with a cloth to remove debris, ensuring a watertight connection.
5. Mark the Insertion Depth
SharkBite fittings require precise insertion for a secure connection. Use the depth gauge to mark the correct depth on the pipe with a marker.
6. Install the SharkBite Valve
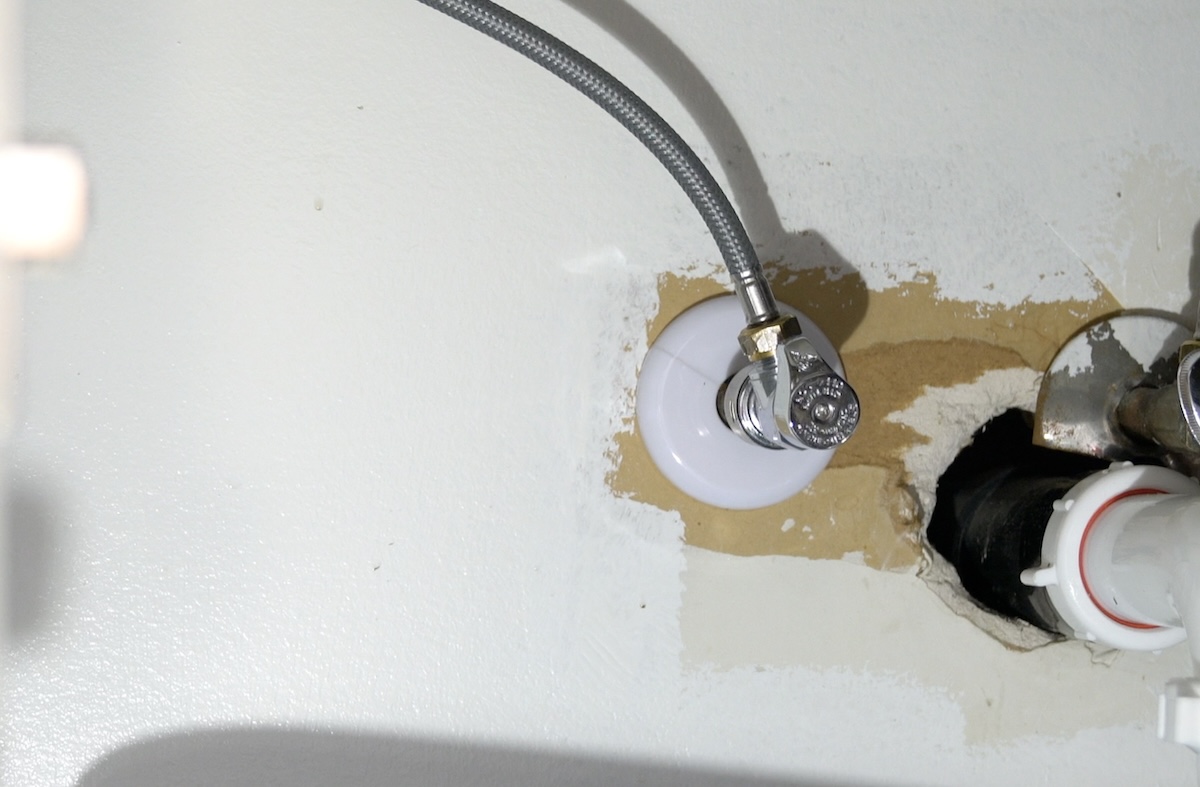
Align the SharkBite valve with the pipe and push it firmly until it reaches the marked depth. The fitting locks in place with an internal mechanism, ensuring a leak-proof seal without tools or glue.
7. Turn On the Water
Slowly reopen the main water supply valve and check for leaks. If installed correctly, the SharkBite fitting will hold securely, and the leak should be resolved.
Replacing a leaky shut-off valve can seem daunting, but it’s a straightforward process with the right tools and materials. The SharkBite Max Quarter-Turn Angle Stop Valve not only solved my leaky valve issue but also made the repair process simple and efficient.