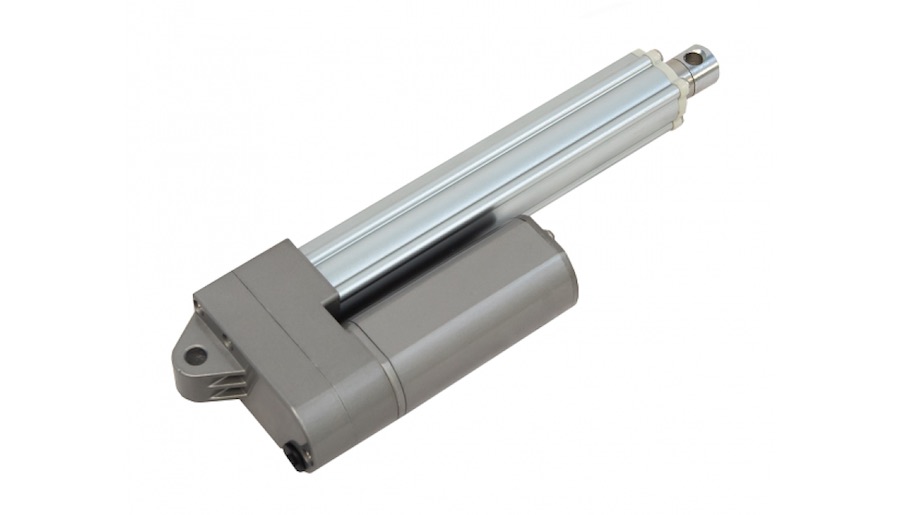
12v linear actuator is the most basic and common actuator on Earth. No wonder you have just entered this webpage. Today we will give you a hand in wiring the most popular and universe actuator. There the wide variety of places and situations to apply it in. For example, you can apply it your doorknob.
To say nothing about the robotic devices that will move with the help of these fantastic actuators. Let us give you the most comprehensive guide on how to attach the linear electric actuator and make your life easier.
A wiring kit is your lifesaver. Basically, it contains two wires: black and red wires.
1. Make necessary cuts
The start is a piece of cake. You are to begin with the cut. This is the part where it is really necessary to pull down than to build. Cut the two wires and make sure you’ll be able to reach your power source. You will switch them to the battery. They have to be loose enough. Then put both wires on the connection points.
2. Connect the kit with linear actuators
Having cut, you are ready to connect. The thing you want to do next is to join the protector right to the rocker switch. Make sure you did it with both sides. Also, check if the in-line fuse holder can fit into the fuse as the first protects the motor. It will never burn up this way. The holder itself pauses the movement of the motor. Also, it will never let it be blocked.
Then join the Two-in-lines fuse with Molex. You need to connect two fold connectors in terminal three with linear actuator. The in-line fuse you’d better connect to terminal four that is sloping towards terminal three. Be careful that the connection is pretty the same. Still, the wiring is carried out vice versa.
3. Switch it to the battery
To finish, you are to attach those long wires to that power resource. Everything is as usual. Join the red wire to the positive. The black one – to the negative. Only then the motor will be able to make backwards and forwards movements.
After you finish the connections, you will be able to control the motor with the rocker switch.
Don’t be surprised if the actuator the rocker switch does not control the actuator. Always test and apply +12VDC in one wire. Evidently, the motion then will be carried out in one direction. If you would like to get the opposite direction of the shaft (in most cases you will), just reverse the polarity.
Choosing the actuator, take a look at the mini linear electric actuators that are becoming more and more popular in the world. It operates in a better way and is perfect when you are racking your brains about where the put the full size and what screws to use in order to place it.
Here you have one more lifehack. You can use a mini-tube or a control box as power source. The power system may easily control several actuators and work. The control-box, in turn, can easily convert the alternative current into the direct current power that will depend on the model you’ll choose.
Disclosure: We might earn commission from qualifying purchases. The commission help keep the rest of my content free, so thank you!


